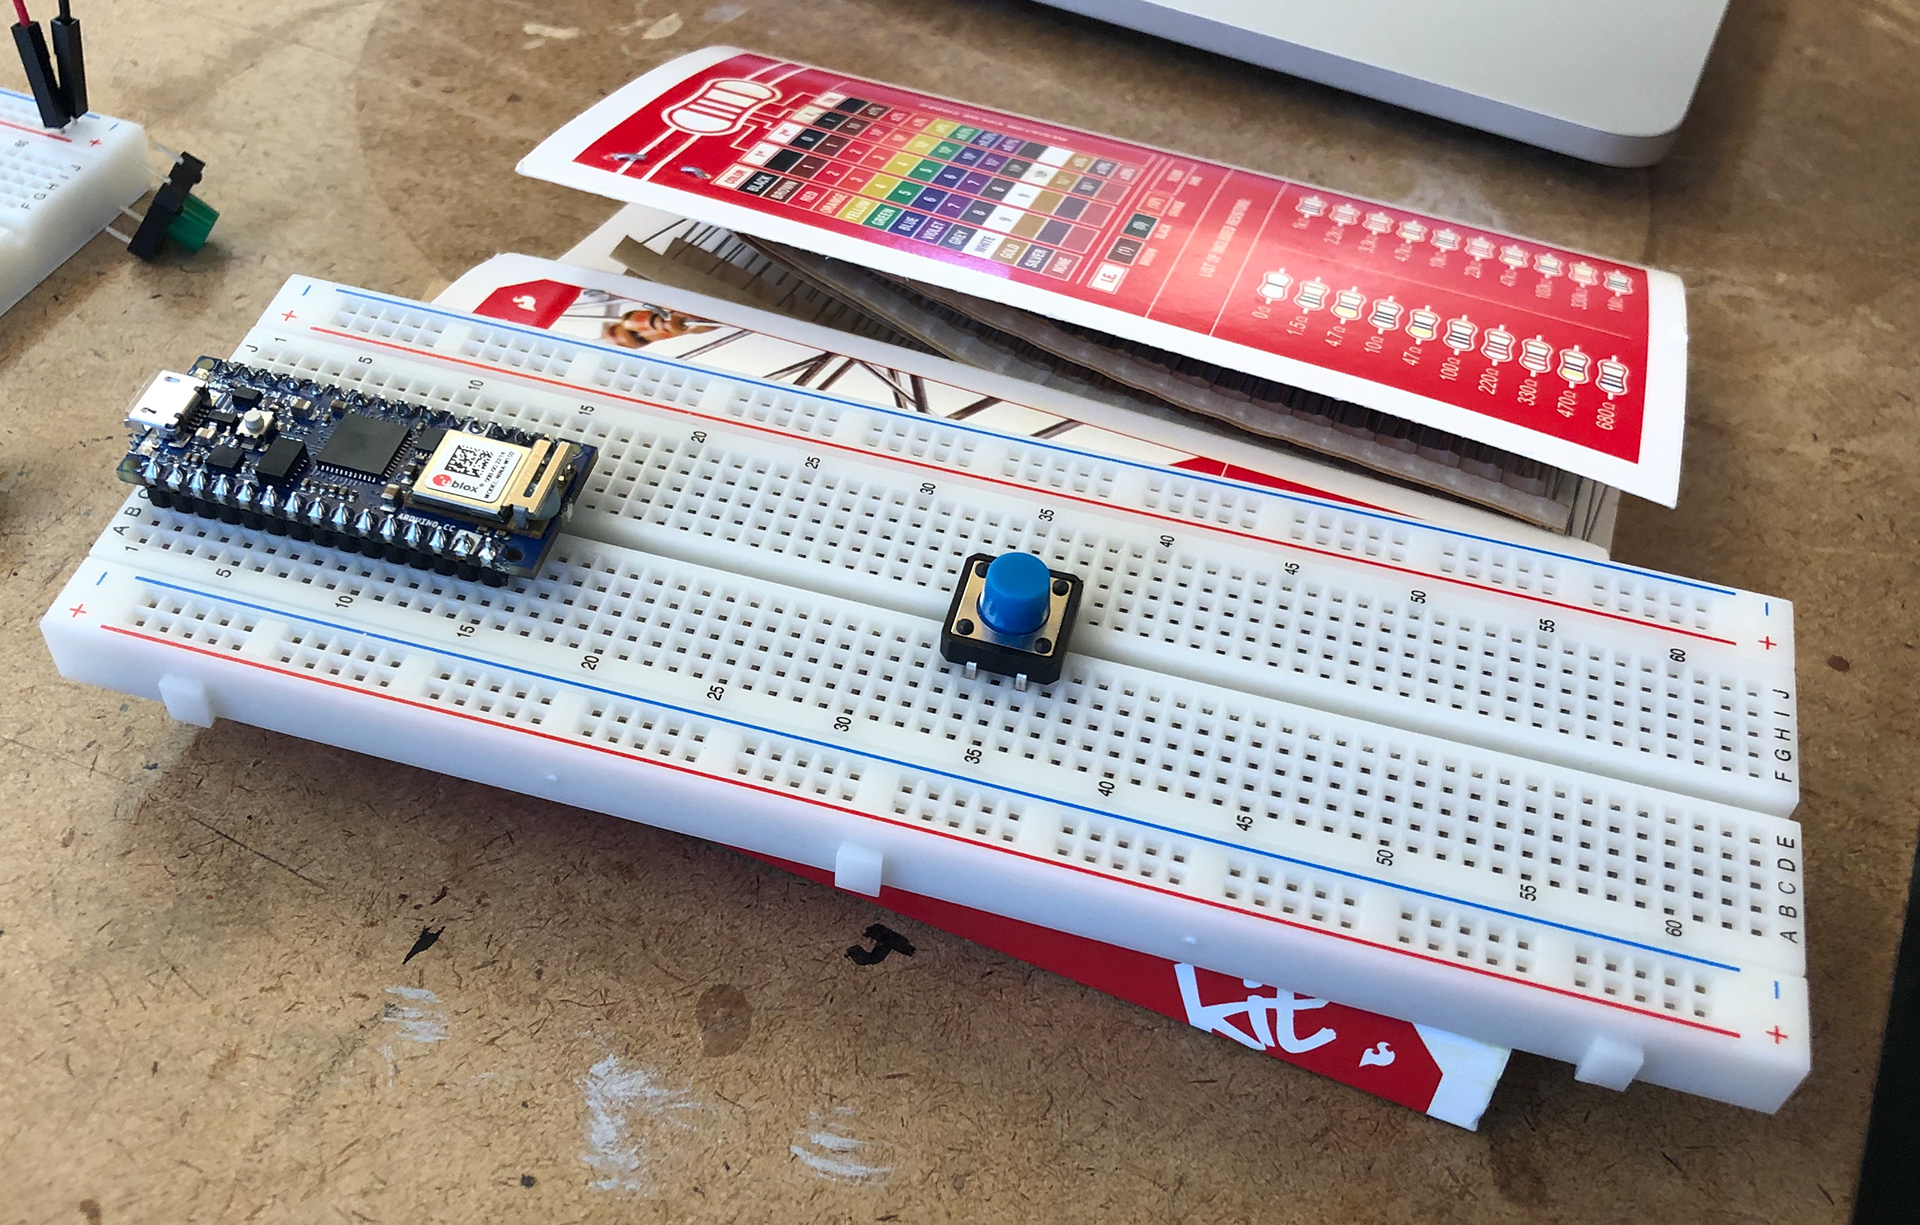
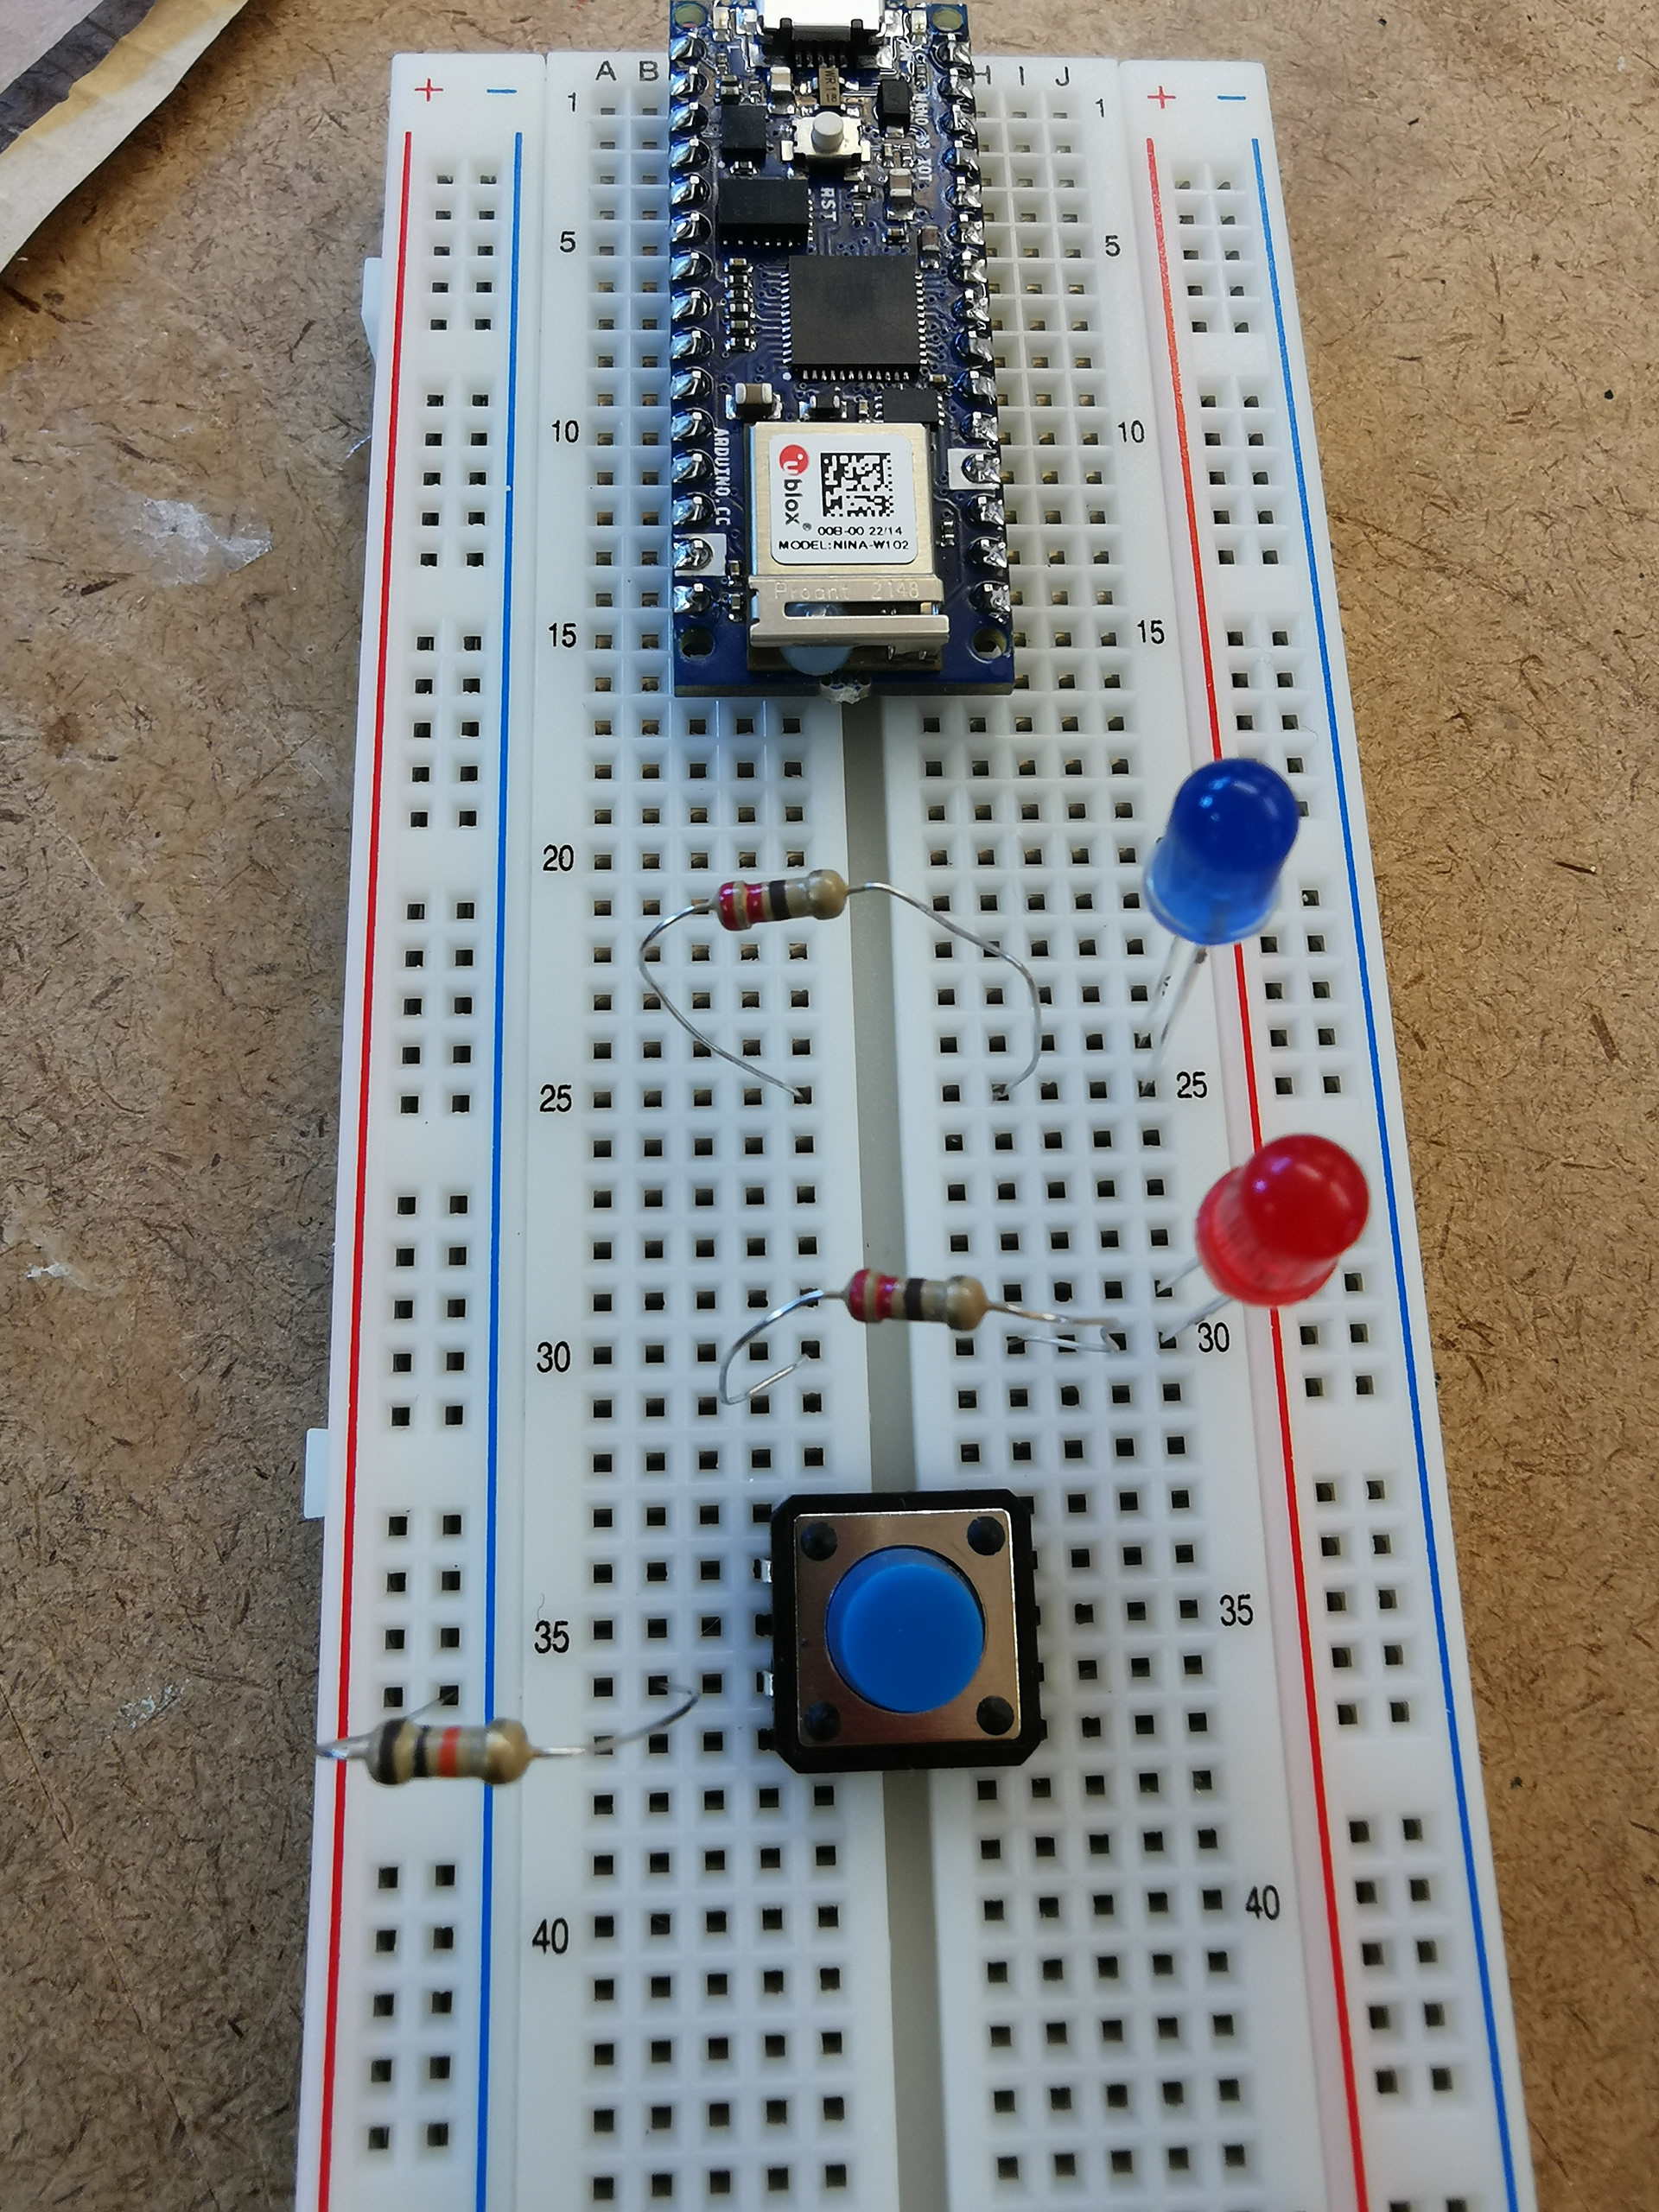
Step 1. Insert the Arduino Nano 33 IoT, a pushbutton with a 10-kilohm resistor (resistor connecting the pushbutton to ground, pulldown resistor, which provides the digital input pin with a connection to ground), and 2 LED lights each with a 220-ohm resistor in series on a solder-less breadboard.
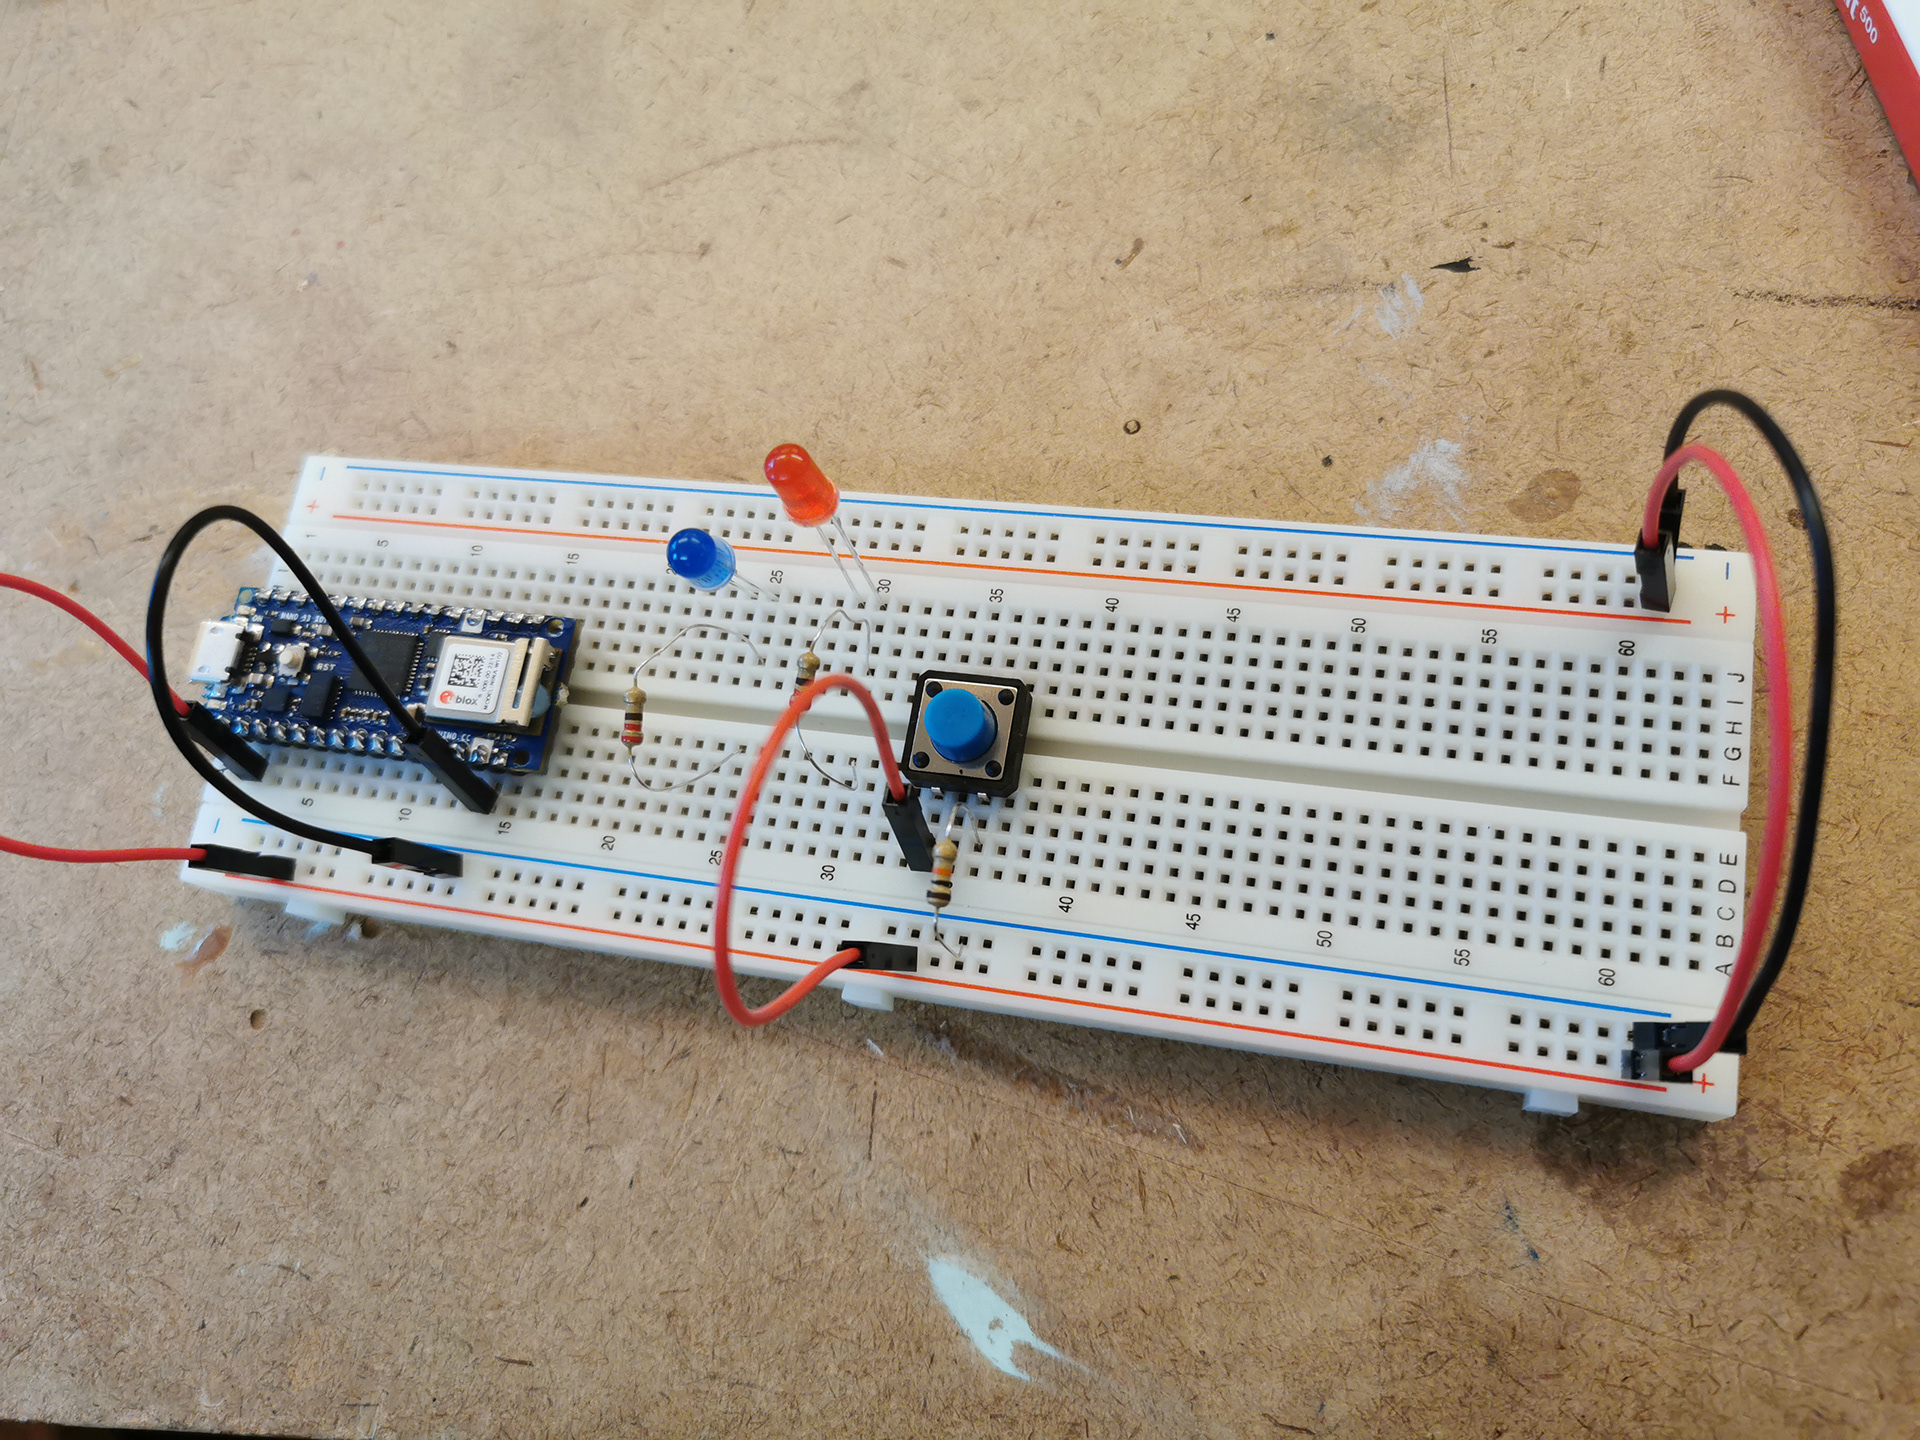
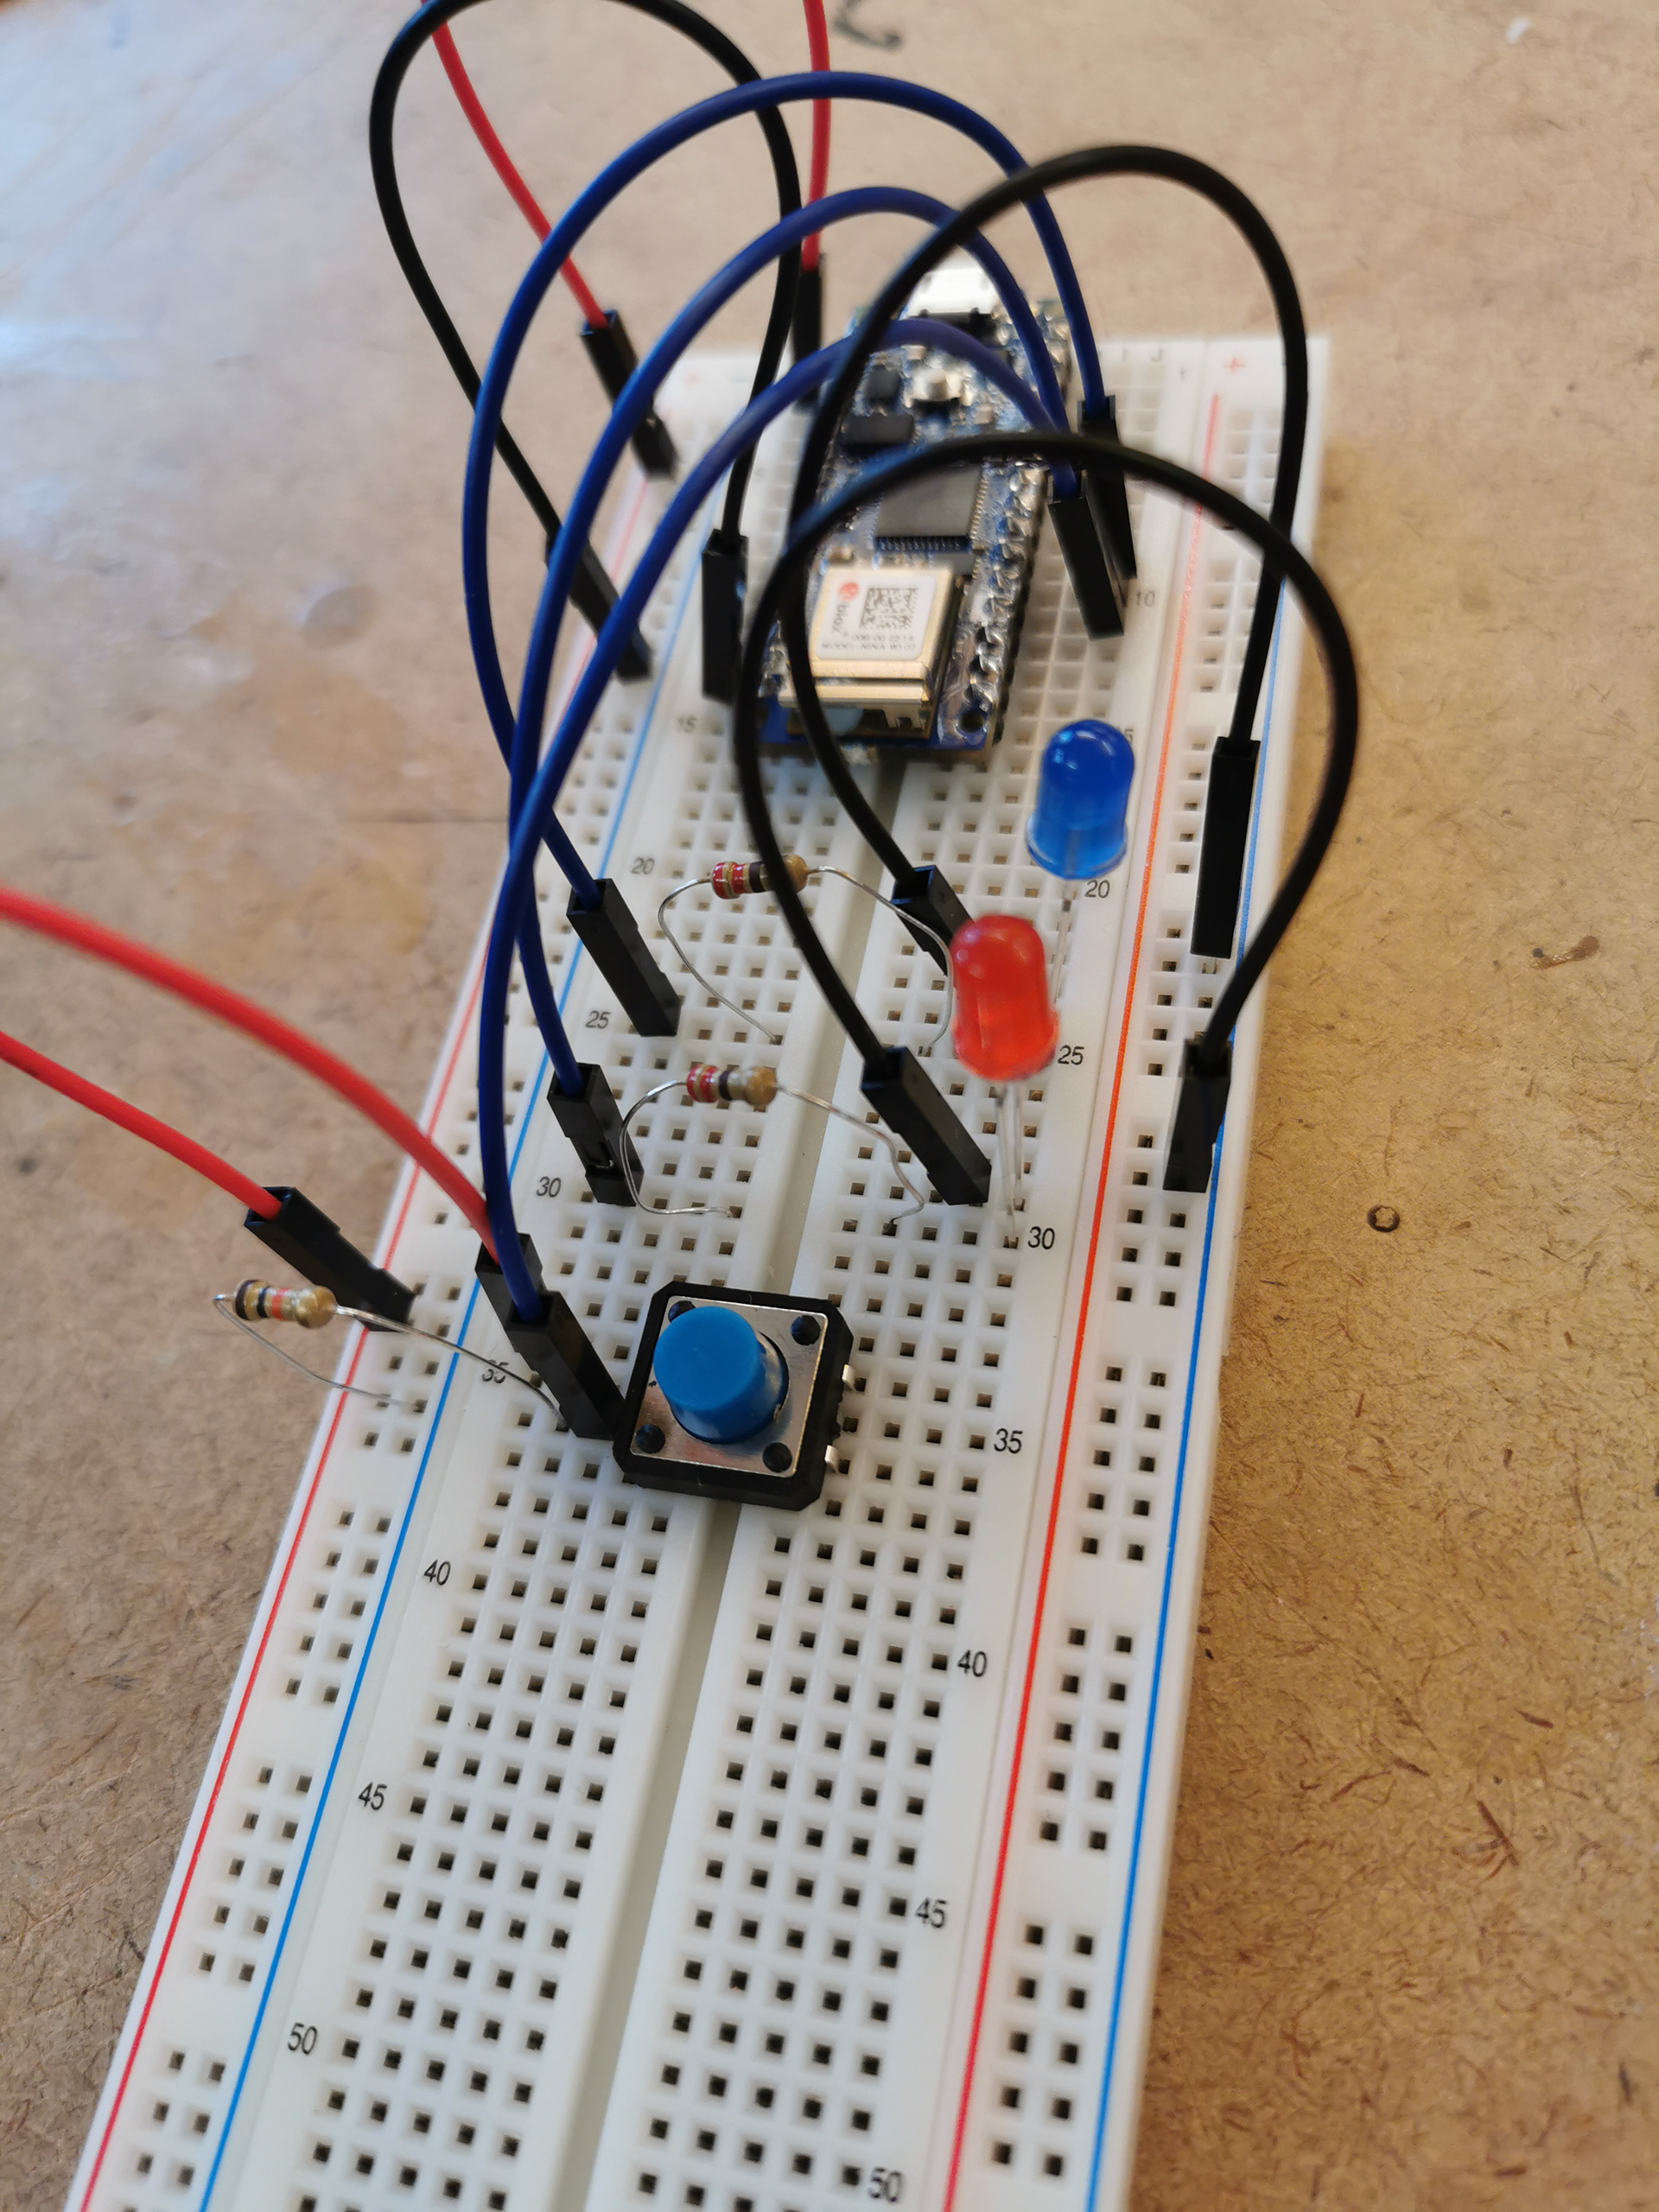
Step 2. Connecting the wires. The red line is the voltage bus, and the black line is the ground bus. I used the blue lines to indicate connections to the Arduino Nano 33 IoT ports. [10-kilohm resistor and pushbutton to digital pin 2, 220-ohm resistor and an LED in series to digital pin 3 and another to digital pin 4 of the Arduino]
Step 3. Program the Arduino.
First, I only programmed to read the digital input on pin 2 and the 1 output on pin 3 (lighting up the blue LED when the pushbutton is pressed and off when releasing the button).
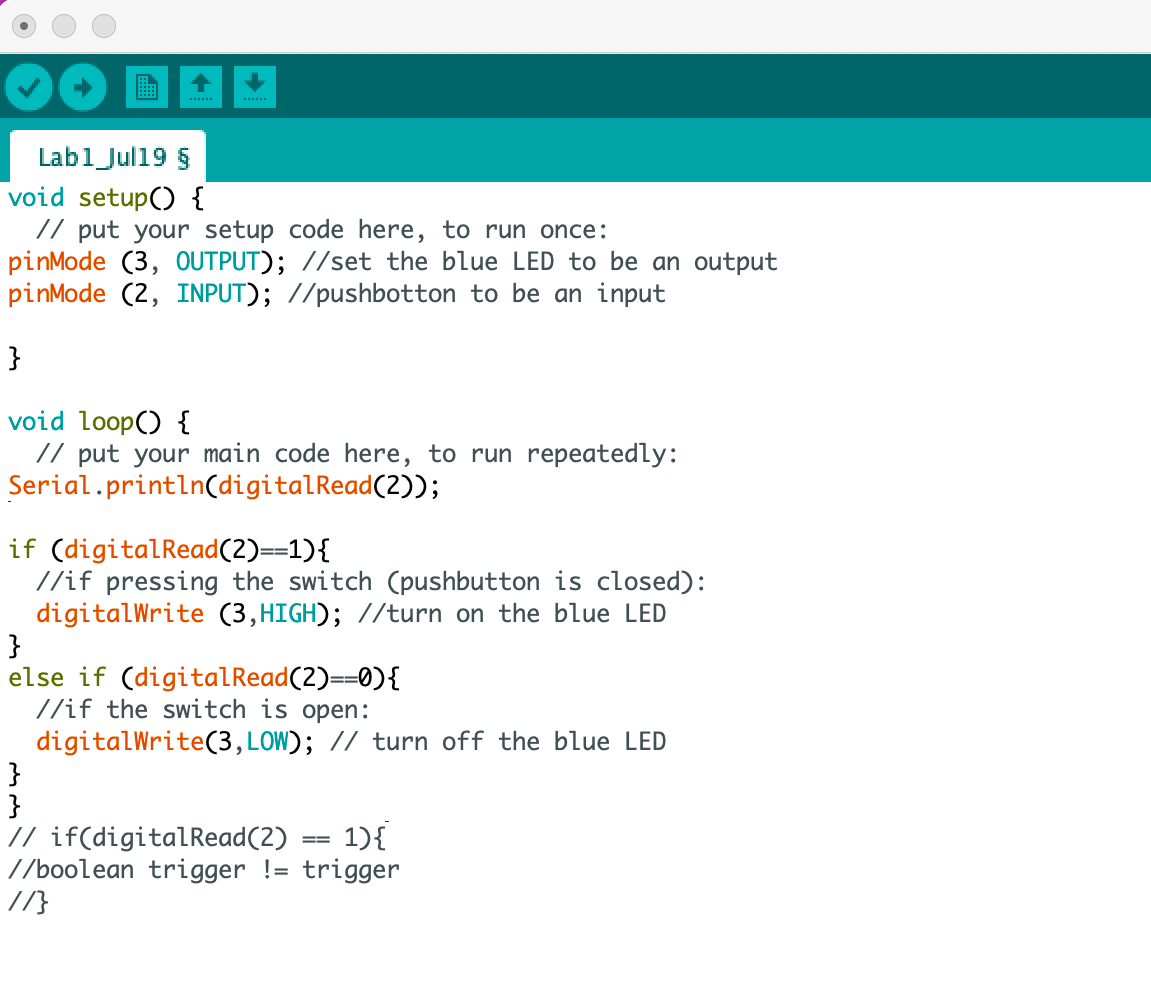
Code that only works on the blue LED
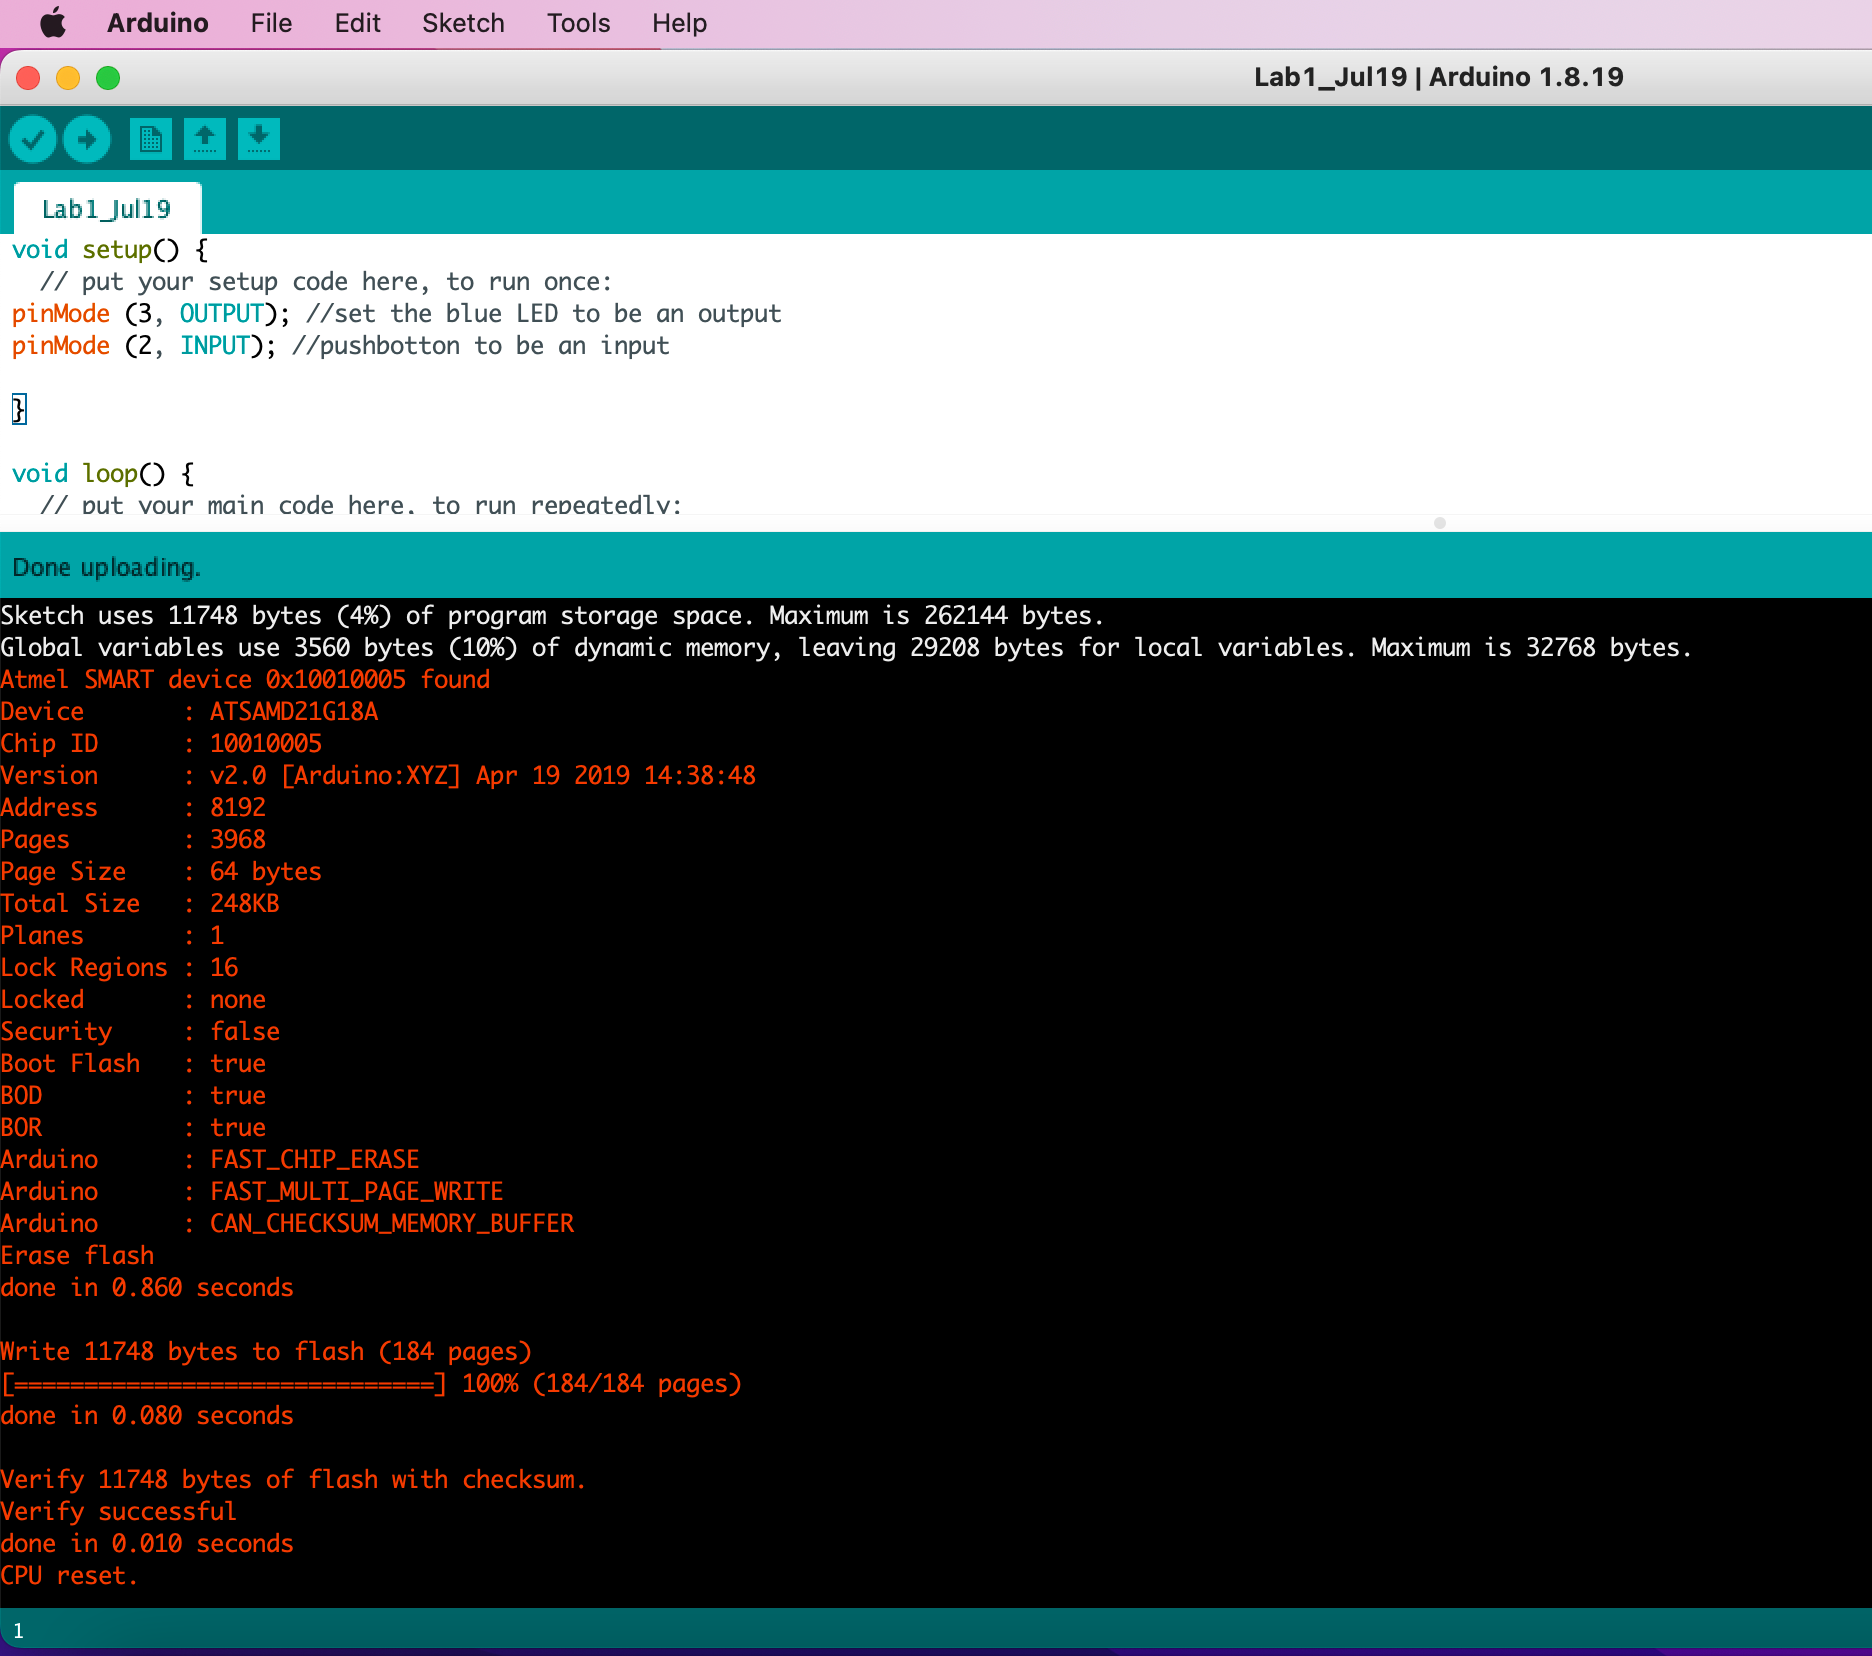
Click the Verify button to compile the code. Then click the Upload button to upload the program to the module
Then I programmed the other output on pin 4 so that when the pushbutton is pressed, turn the blue LED on and the red one off. When the pushbutton is released, turn the red LED on and the blue LED off.